Showing posts with label L.A. Colors. Show all posts

Sunday, October 9, 2011

Who wants candy?!?

 This is a really quick nail art design that I came up with. I'm not artistic in any way, but nail art doesn't have to require talent. I do, however, love all the intricate designs that some people come up with such as The Sneakerette or The Daily Nail. Since, I'm not awesome like that, I try to come up with simple designs that won't look too bad if I mess up. I say that because there were several mess ups that occurred during this mani, but honestly I was happy the way it turned out.

 I used Sally Hansen Xtreme Wear in White on as the background and I made random triangles with a gold nail art polish from L.A. Colors. With a small dotting tool I alternated lines/dots inside the triangle to simulate the candy corn look with Mellow Yellow and Sun Kissed, both from the Xtreme Wear line. I finished it off by adding dots in both the yellow and orange polish, also in random spots.


 It was quick and easy, exactly how I love nail art to be when I'm the one having to do the "art". The top coat you use makes a big difference in nail art. You want a top coat that will bring the look together, by creating a smooth and polished look. Seche Vite is great for that because of it's thick consistency, plus it won't smear the colors together like other top coats will. Oh, and of course it's fast drying so you can get on with life A.S.A.P. ^_^

Wednesday, July 13, 2011

Black Shimmer Nail Polishes - Swatches/ Comparisons

 Today I have a swatch/ comparison for you. Somehow, (I have no idea how O_O) I have accumulated four black polishes with microglitter in the mix. When I was doing my nail polish inventory, a few weeks ago, I noticed that they were almost identical. The only thing was that I was doing my inventory in low lighting, so I couldn't be certain.

 This weekend I finally decided to swatch them to see how different and/ or alike they were. I did two coats of each nail polish and I only took sun pictures because the lighting in the shade didn't show any of the glitter.


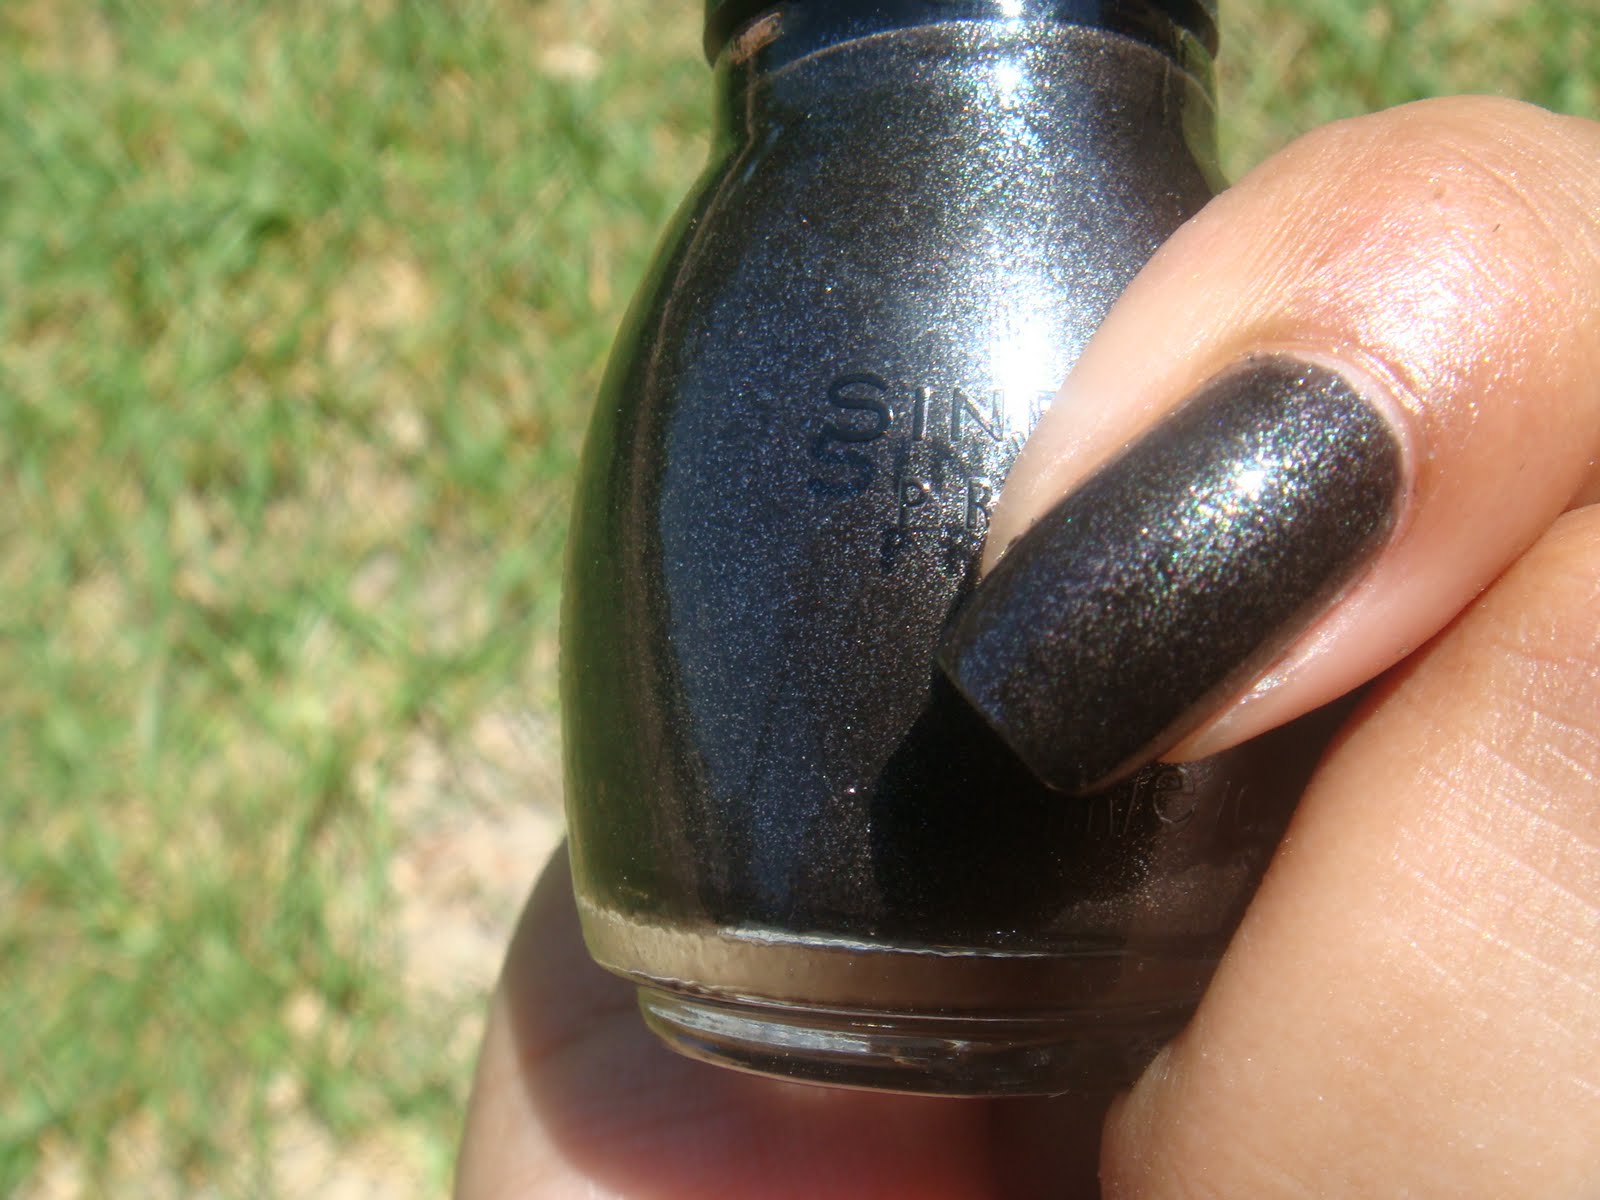
This is Sinful Colors Secret Admirer. If you're looking for a black polish with noticeable silver glitter, then this is the polish for you. This was the only one that you could really tell there was glitter in there and it almost gives it a duochrome look.

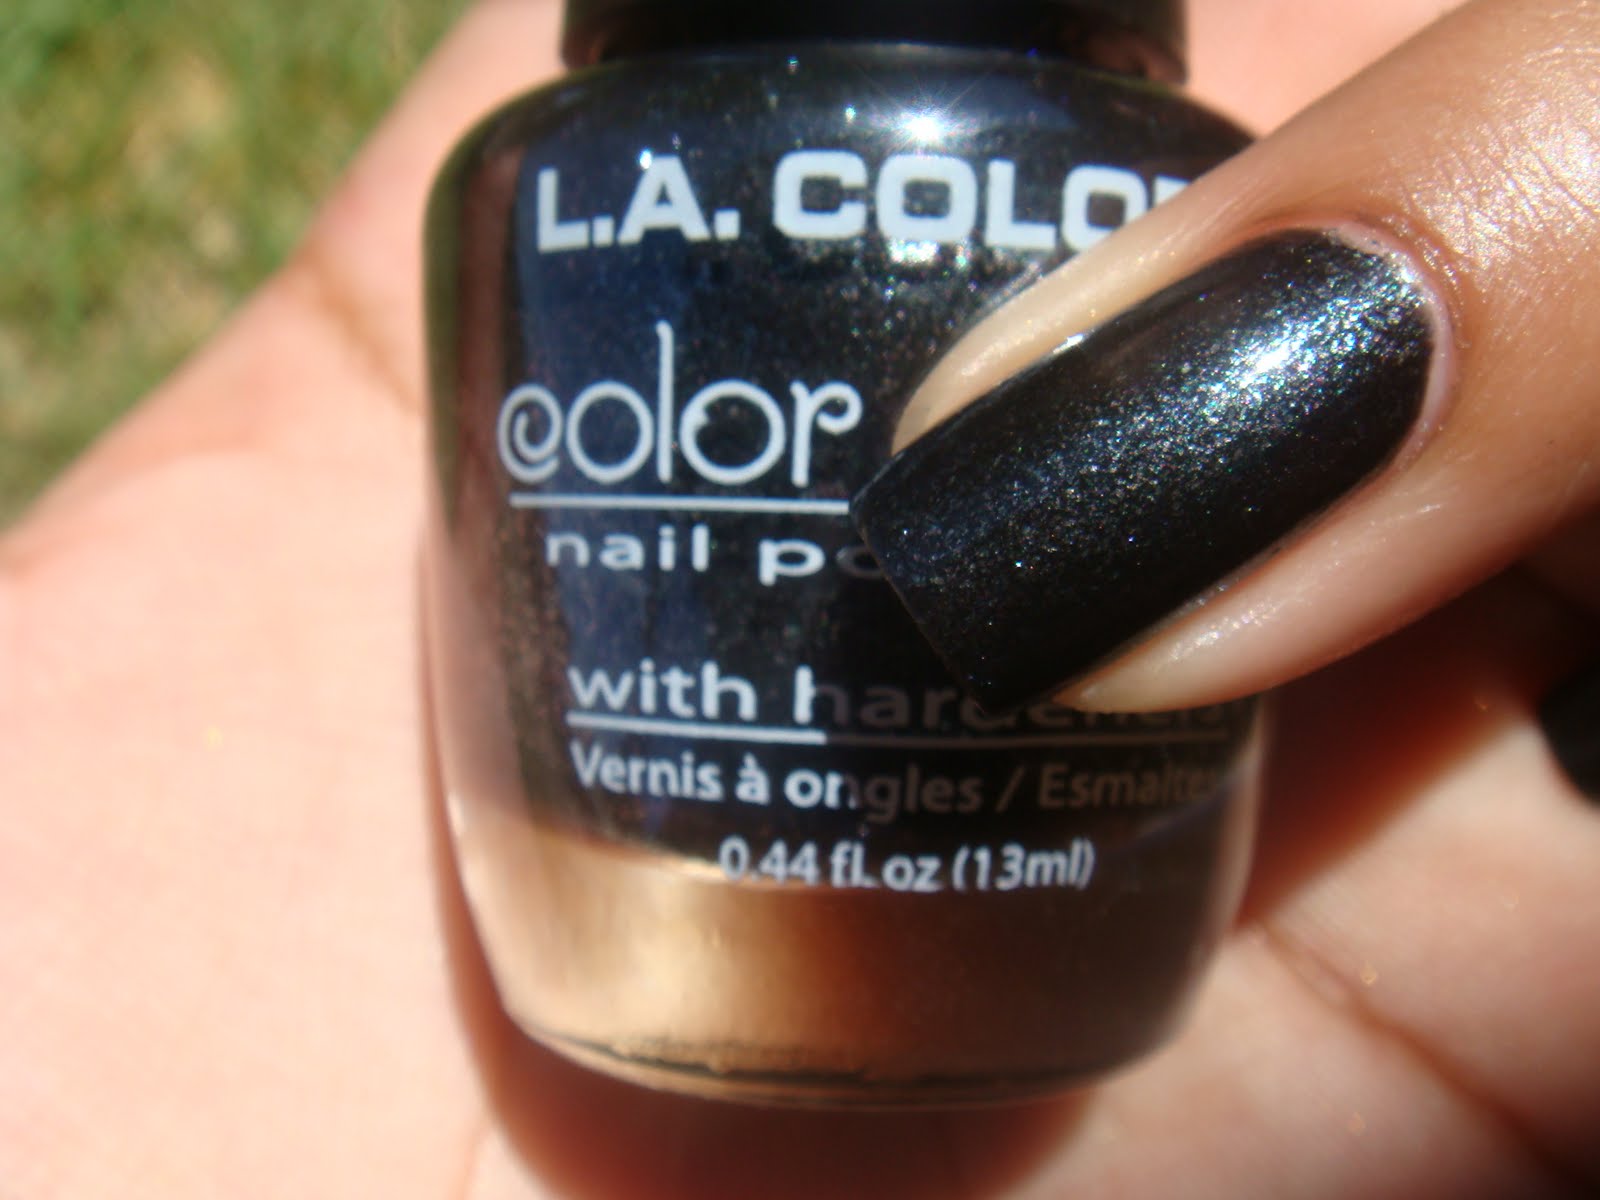
This is Little Black Dress. The L.A. Colors one and this one were the only two that came close to what I envisioned black with microglitter polish to be. They are both black bases and both have microglitter, but it's less pronounced and gives it a more subtle look than Secret Admirer.

Here is L.A. Colors. Unfortunately, it didn't have a name. I bought this one in a set of six other polishes. The packaging said it was the Shimmer Brights Collection, yet I couldn't find any names for them online. This one and Little Black Dress are pretty close dupes.

The last one is Essence Fabuless. This polish is definitely way more subdued than all of them. It's basically a black creme with a sparse sprinkling of microglitter

 I'm sorry that I didn't provide full swatches of these, but my original plan was to take a closeup of them all together, so that you could distinguish the difference better. However, that was a total fail. When I took pictures like that, you could barely even tell them apart, except for Secret Admirer.

Saturday, July 9, 2011

Glitter Envy with Starry Temptress Top Coat

  This is the second polish I try from Color Club's Starry Temptress Collection and I have to say this one was a fail. The polish was super thick, yet it left bald spots so I had to use three coats. I couldn't get them to be thin coats and it looks like the polish is just caked on! I liked the color and I want to try it again, but first I need to buy some thinner. I can't believe I haven't bought some yet. I really need it for my Seche Vite top coat. I have six bottles that are halfway full, but they became gloopy. Instead of buying thinner, I have just been buying new bottles.

 I don't like the look of the polish on it's own, since the glitter doesn't shine, it's just there. In my opinion, if I'm going to go through the trouble of removal, it better freaking sparkle! So, I added a coat of Starry Temptress top coat. I like it much better with the top coat. It's not overly sparkly, but it has a nice effect.


I know most people find the Color Club polishes online, so you may not have the Starry Temptress top coat if you didn't buy the set. I was in Family Dollar yesterday and I found this, Sassy Sparkle by L.A. Colors from their Craze line and it's really similar to Starry Temptress. The glitter is a bit bigger on Sassy Sparkle, but it's a good option if you don't have Starry Temptress.

See. Almost identical.


AND here is Dexter!! He wouldn't stay still long enough to let me get a good pic, but he's still uber cute!

Thursday, June 16, 2011

Thursday's Nail Art: Teal Cross

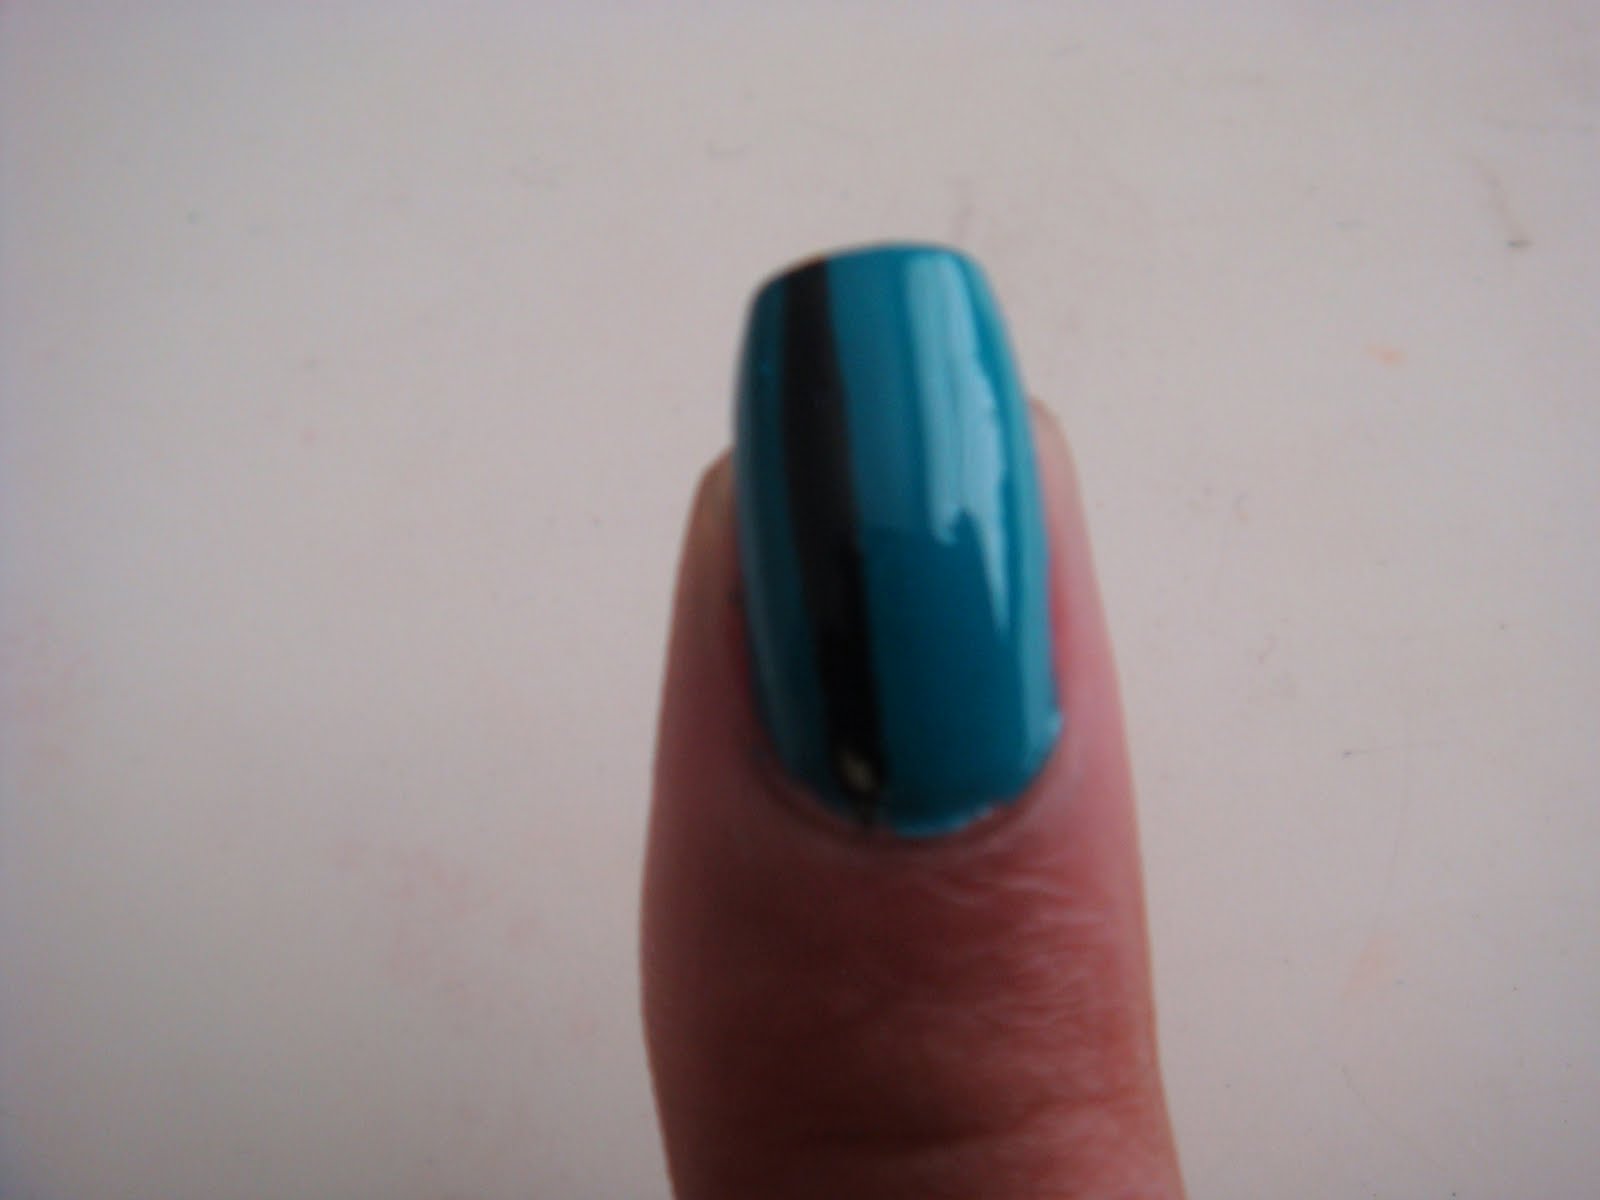
   This is a design that I have used several times on myself and family members. The great thing about it is that it's so simple. It's literally two black lines outlined in silver over a solid background. I have only used it with Kleancolor's Beach Blue and Sinful Colors Let's Talk, but I'm sure it would look great with any color combination you can dream up.

   The only three products I used are L.A. Colors Art Deco polishes in black, silver and Kleancolor Beach Blue.


   I started with two coats of Kleancolor Beach Blue. I love, love this polish and it's not just because of the color, but because a very special, former co-worker gifted this to me after I told her how much I loved how it looked on her toes.


   I know sun pictures don't always depict the real life nail polish color, but I like to take sun pictures because I like how the sun makes the colors look more vibrant.


   After the polish dried, I took L.A. Color Art Deco nail art polish in black and drew a vertical line a little left from the halfway mark.


   Using the same black nail art polish, I drew a horizontal line, as if outlining a french manicure.

   As you can see, the lines are not perfect whatsoever, but they don't have to be since you will be outlining them in silver polish.

   Onc the black lines have dried you can commence on outlining the black lines on either side with the silver nail art polish.


   The next two pictures have a coat of clear top coat on.


   That's it for this nail art design! I always receive compliments when wearing this teal manicure and I hope whoever (if anyone) out there tries it, gets compliments as well. Enjoy!

Monday, June 13, 2011

Monday's Nail Art: Brushed Silver

   I really wanted to get this post up earlier in the day, but then I received a call from my aunt telling me that my dad was doing worse today. He has been in the hospital since last Sunday and seemed to be doing a lot better, until today when we found out he was in pain because of a bacteria in his blood. So, I was really not feeling inspired to write anything and just kept staring at my laptop and pictures of my nails. Anyways, I decided to take a trip to my "polish room" (it's really just a walk in closet) and I now feel in a better mood after spending some time surrounded by my lovelies.

   I actually did this manicure in the waiting room at the hospital where my dad is in. The only reason why I did that was because he's in the chemotherapy ward and most people who go to that floor are outpatient, so the waiting room is empty 95% of the time. Otherwise, I would not have even thought of doing my nails at a hospital. The inspiration for this manicure was actually our truck. Lol, yes, our truck. It's black and full of chrome stuff on it, and I love the way it looks in the sun, so I decided to do something to that effect on my nails.

   These are the products I used: Orly Liquid Vinyl, M.A.C. $$$$$ Yes, silver striping tape and black hexagonal glitter.


   I started off with two coats of Orly Liquid Vinyl. I love black so much that I almost left it as is!


   I then took M.A.C. $$$$$ Yes and created a diagonal french manicure. It took two coats to get it opaque. This is the first time I use this polish and I don't think I will ever wear by itself, since it left too many brush strokes. However, I liked how the brushed strokes showed on this particular manicure because to me it resembles brushed silver.


   After that I took L.A. Colors Art Deco nail art polish in black and just created some swervy lines from the lower left corner going upwards. I would reccommend making the lines longer than what I did to make them more visible after the next two steps.

   I then took L.A. Colors Art Deco nail art polish in silver and kind of went over and in between the black lines. This is why I should have made the black lines longer.

   This step is optional, but I decided it need a little more dimension to the design so I added black hexagonal glitter in random places.

   The last step was to cut pieces of the striping tape and place them where the black and silver polish meet to create a crisp line. I used the striping tape because it resembles the chrome I was going for and I really like the contrast of the striping tape next to the satin finish of M.A.C.'s $$$$$ Yes.

   Since, I was at the hospital I didn't have any clear polish to finish off the look so this last picture has no clear coat. To make the striping tape last longer a good top coat like Seche Vite is necessary or else the edges will begin to lift up. Overall, I was happy with the way it turned out an I think this would be a great manicure for a wedding or a prom since my husband said it looked to fancy for a regular day at work lol. Although, I pay no attention to him and wear what I want when I want, even if it's too "fancy". So, that's it for today's post. Enjoy!