Showing posts with label black. Show all posts

Sunday, July 31, 2011

Kickoff to Lynnderella's Week with Mercurial

 I am super excited to be doing Lynnderella Week and since I have seven of her polishes to show you, I am having to start on Sunday. I have to say that my favorite type of nail polishes are the ones with glitter. I absolutely adore them and cannot get enough of them. That being said, there is no mystery as to why I am in love with Lynderella's Creations.  Each one of her polishes is as unique as the next and they truly have no equal.

 To kickoff Lynnderella's Week, I have decided to spotlight on Mercurial. Above, I swatched this polish on an index card because I feel that the details of this polish is best seen this way. As you can see, there are many different shapes and sizes glitter. There are small, medium and large silver hexagons, small lilac hexagons, and small silver squares all mixed in a silver microglitter base with a hint of gray. This polish is almost jellyish except that it doesn't transfer like that on the nail. There's just enough amount of gray tint in this polish to create full coverage with two to three coats, depending on application. When I first wore this polish, I did three coats, but in my opinion the best way to wear this polish is with a black base. There is so much glitter in this polish, that if you attempt to use it alone, you will end up with a thick manicure.


This is semi-shade. There is one lonely large hex glitter on my middle finger. The polish doesn't have too many large hex glitters, but I think it works best that way. Too much large glitters would only take away from the effect of this polish.

Sun picture.

Closeup.

 Before I knew about the danger of mercury, I used to break thermometers and dump the mercury in a plastic bottle cap and just pick at it with a toothpick. I was so amazed by it and loved seeing it separate. This polish has that same consistency. Some people might find this a little thick, but I enjoyed applying it because it took me back to my mercury loving days. I don't know why this is named Mercurial because other than the consistency, the polish itself reminds me more of outer space. It just has that "out of this world" look and looking at it makes me want to watch Nova! (Nova is show about everything space related and it airs on KERA.)

*Currently Lynnderella has post-poned her fall collection indefinitely, and her shop is closed at the moment. However, you can follow here here to make sure you don't miss the update when she reopens her shop.

Wednesday, July 13, 2011

Black Shimmer Nail Polishes - Swatches/ Comparisons

 Today I have a swatch/ comparison for you. Somehow, (I have no idea how O_O) I have accumulated four black polishes with microglitter in the mix. When I was doing my nail polish inventory, a few weeks ago, I noticed that they were almost identical. The only thing was that I was doing my inventory in low lighting, so I couldn't be certain.

 This weekend I finally decided to swatch them to see how different and/ or alike they were. I did two coats of each nail polish and I only took sun pictures because the lighting in the shade didn't show any of the glitter.


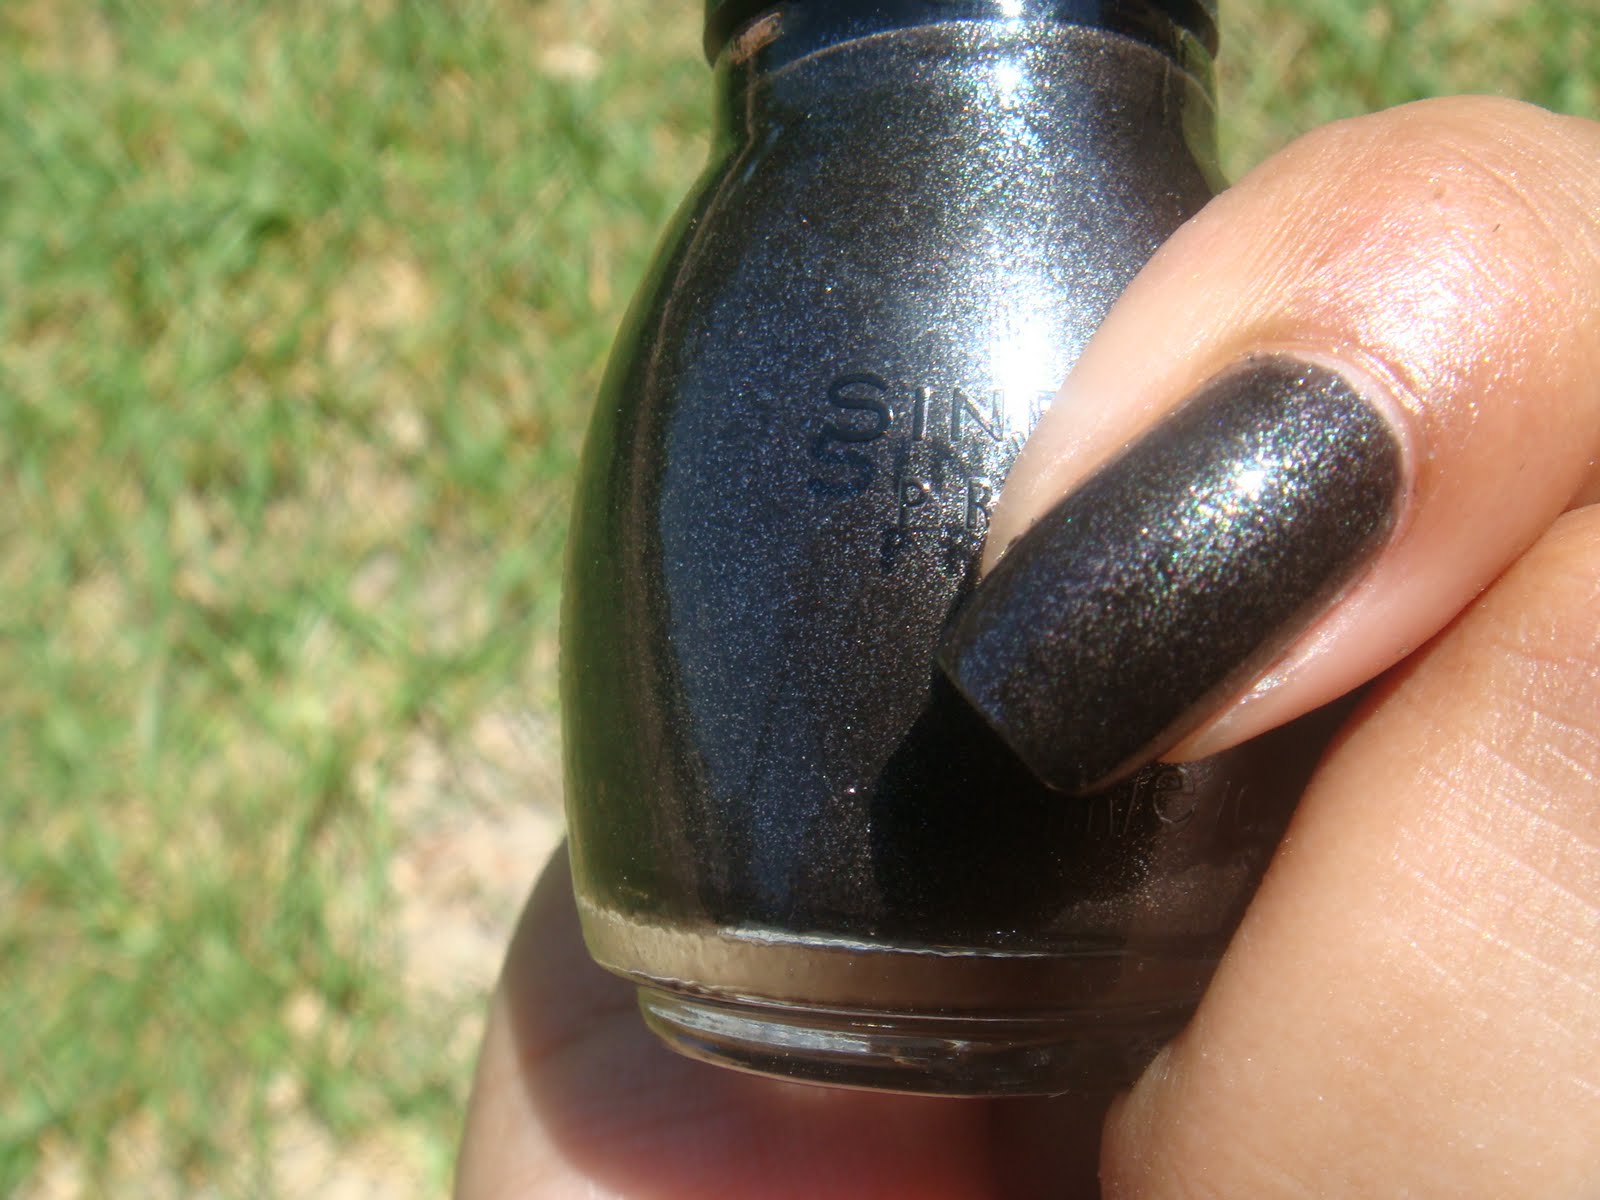
This is Sinful Colors Secret Admirer. If you're looking for a black polish with noticeable silver glitter, then this is the polish for you. This was the only one that you could really tell there was glitter in there and it almost gives it a duochrome look.

This is Little Black Dress. The L.A. Colors one and this one were the only two that came close to what I envisioned black with microglitter polish to be. They are both black bases and both have microglitter, but it's less pronounced and gives it a more subtle look than Secret Admirer.

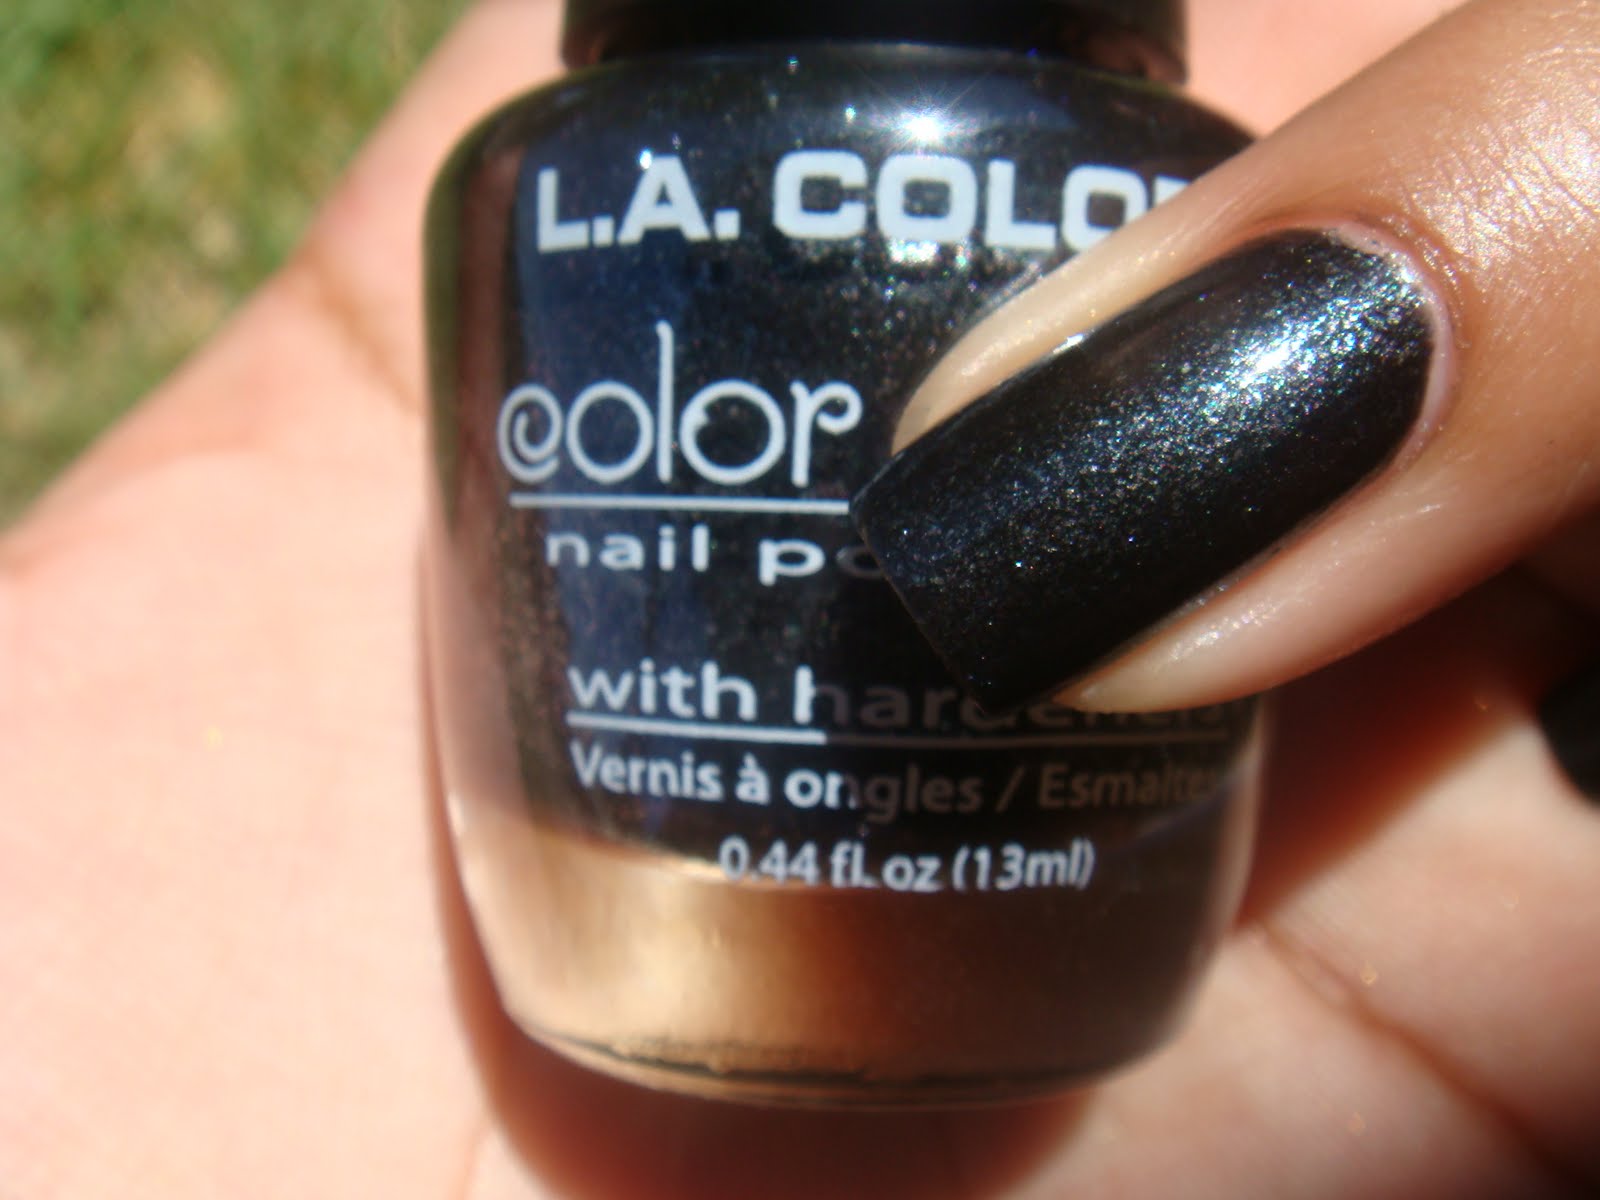
Here is L.A. Colors. Unfortunately, it didn't have a name. I bought this one in a set of six other polishes. The packaging said it was the Shimmer Brights Collection, yet I couldn't find any names for them online. This one and Little Black Dress are pretty close dupes.

The last one is Essence Fabuless. This polish is definitely way more subdued than all of them. It's basically a black creme with a sparse sprinkling of microglitter

 I'm sorry that I didn't provide full swatches of these, but my original plan was to take a closeup of them all together, so that you could distinguish the difference better. However, that was a total fail. When I took pictures like that, you could barely even tell them apart, except for Secret Admirer.

Thursday, June 16, 2011

Thursday's Nail Art: Teal Cross

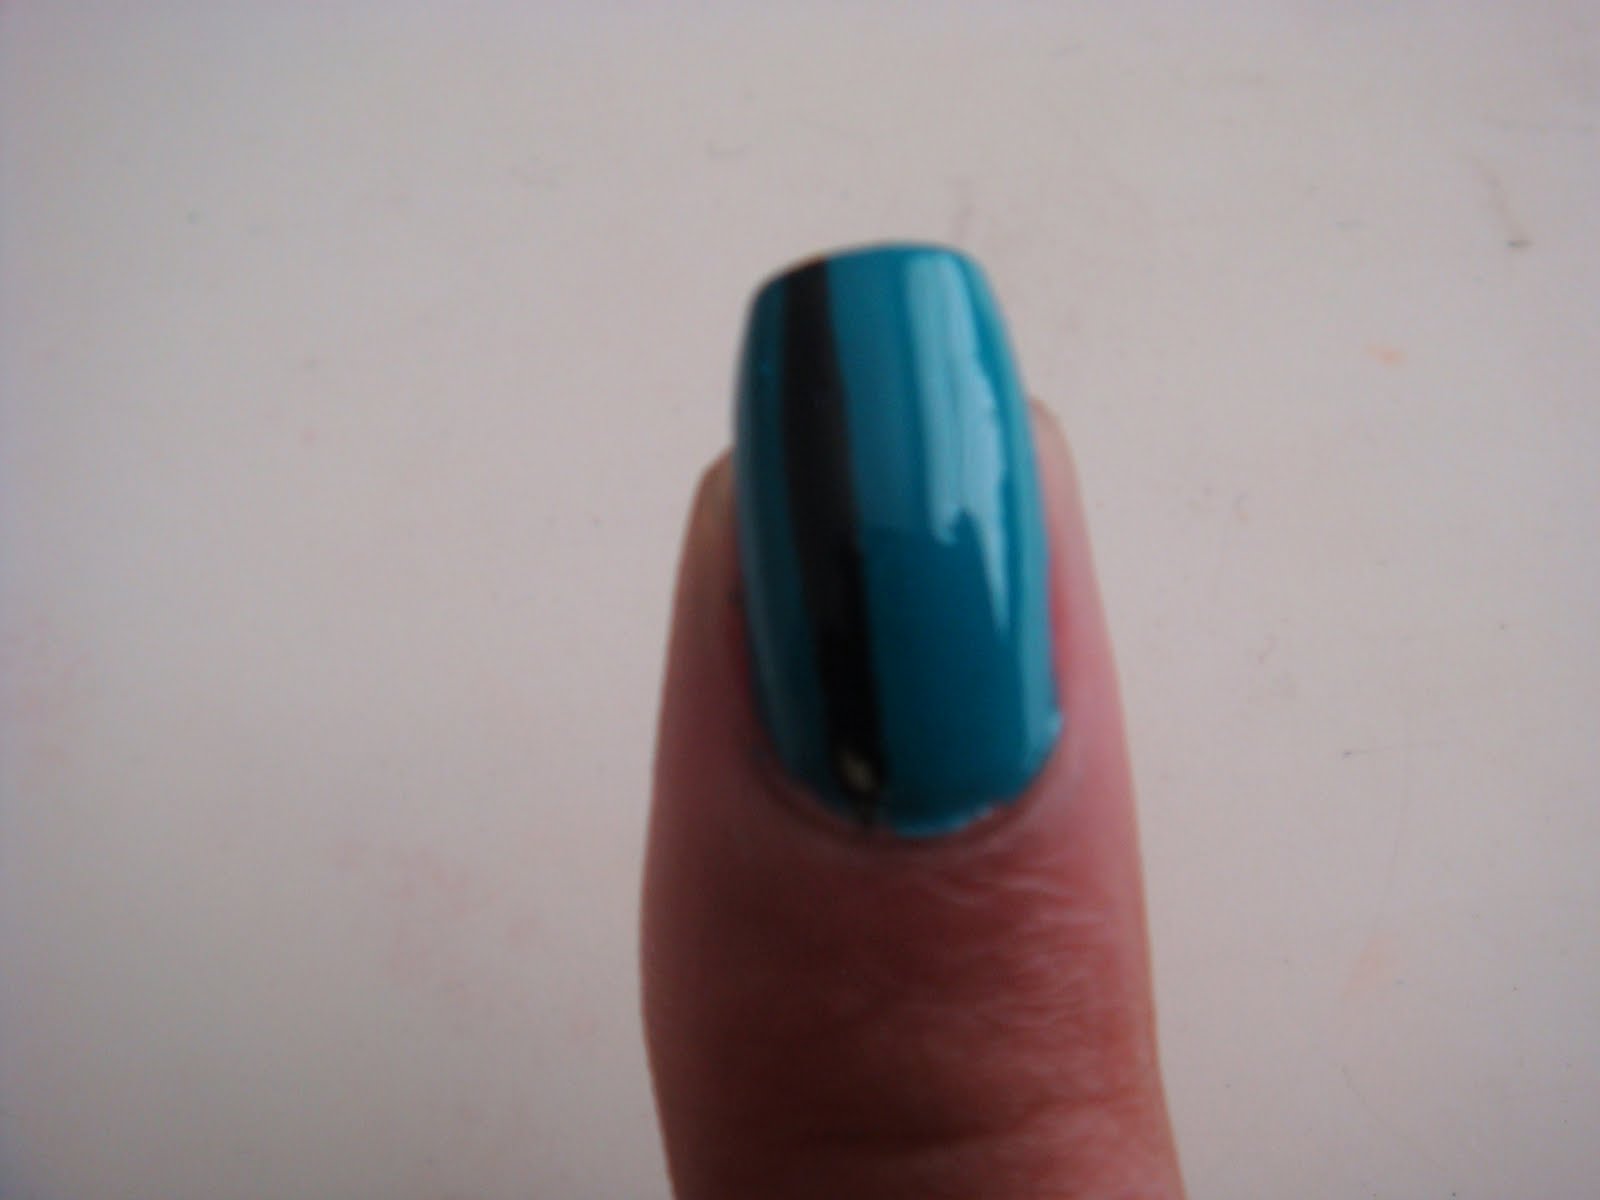
   This is a design that I have used several times on myself and family members. The great thing about it is that it's so simple. It's literally two black lines outlined in silver over a solid background. I have only used it with Kleancolor's Beach Blue and Sinful Colors Let's Talk, but I'm sure it would look great with any color combination you can dream up.

   The only three products I used are L.A. Colors Art Deco polishes in black, silver and Kleancolor Beach Blue.


   I started with two coats of Kleancolor Beach Blue. I love, love this polish and it's not just because of the color, but because a very special, former co-worker gifted this to me after I told her how much I loved how it looked on her toes.


   I know sun pictures don't always depict the real life nail polish color, but I like to take sun pictures because I like how the sun makes the colors look more vibrant.


   After the polish dried, I took L.A. Color Art Deco nail art polish in black and drew a vertical line a little left from the halfway mark.


   Using the same black nail art polish, I drew a horizontal line, as if outlining a french manicure.

   As you can see, the lines are not perfect whatsoever, but they don't have to be since you will be outlining them in silver polish.

   Onc the black lines have dried you can commence on outlining the black lines on either side with the silver nail art polish.


   The next two pictures have a coat of clear top coat on.


   That's it for this nail art design! I always receive compliments when wearing this teal manicure and I hope whoever (if anyone) out there tries it, gets compliments as well. Enjoy!

Monday, June 13, 2011

Monday's Nail Art: Brushed Silver

   I really wanted to get this post up earlier in the day, but then I received a call from my aunt telling me that my dad was doing worse today. He has been in the hospital since last Sunday and seemed to be doing a lot better, until today when we found out he was in pain because of a bacteria in his blood. So, I was really not feeling inspired to write anything and just kept staring at my laptop and pictures of my nails. Anyways, I decided to take a trip to my "polish room" (it's really just a walk in closet) and I now feel in a better mood after spending some time surrounded by my lovelies.

   I actually did this manicure in the waiting room at the hospital where my dad is in. The only reason why I did that was because he's in the chemotherapy ward and most people who go to that floor are outpatient, so the waiting room is empty 95% of the time. Otherwise, I would not have even thought of doing my nails at a hospital. The inspiration for this manicure was actually our truck. Lol, yes, our truck. It's black and full of chrome stuff on it, and I love the way it looks in the sun, so I decided to do something to that effect on my nails.

   These are the products I used: Orly Liquid Vinyl, M.A.C. $$$$$ Yes, silver striping tape and black hexagonal glitter.


   I started off with two coats of Orly Liquid Vinyl. I love black so much that I almost left it as is!


   I then took M.A.C. $$$$$ Yes and created a diagonal french manicure. It took two coats to get it opaque. This is the first time I use this polish and I don't think I will ever wear by itself, since it left too many brush strokes. However, I liked how the brushed strokes showed on this particular manicure because to me it resembles brushed silver.


   After that I took L.A. Colors Art Deco nail art polish in black and just created some swervy lines from the lower left corner going upwards. I would reccommend making the lines longer than what I did to make them more visible after the next two steps.

   I then took L.A. Colors Art Deco nail art polish in silver and kind of went over and in between the black lines. This is why I should have made the black lines longer.

   This step is optional, but I decided it need a little more dimension to the design so I added black hexagonal glitter in random places.

   The last step was to cut pieces of the striping tape and place them where the black and silver polish meet to create a crisp line. I used the striping tape because it resembles the chrome I was going for and I really like the contrast of the striping tape next to the satin finish of M.A.C.'s $$$$$ Yes.

   Since, I was at the hospital I didn't have any clear polish to finish off the look so this last picture has no clear coat. To make the striping tape last longer a good top coat like Seche Vite is necessary or else the edges will begin to lift up. Overall, I was happy with the way it turned out an I think this would be a great manicure for a wedding or a prom since my husband said it looked to fancy for a regular day at work lol. Although, I pay no attention to him and wear what I want when I want, even if it's too "fancy". So, that's it for today's post. Enjoy!