For my final design of nail art week, I decided to take a cue from Sinful Colors. A few months ago, they had a display with a how to on doing designs using a toothpick to create dots. The instructions weren't actually detailed except for telling you that dots can be created using a toothpick, and it pretty much advised you to use your imagination. Sinful Colors is a drugstore brand that is priced at 1.99 at most drugstores, but there's a Walgreens in one of the cities close to me that always has them on sale, two for three dollars. That's where I mainly obtained the few colors that I had, and one day I stopped in looking for a back up to Ocean Green, and saw that they had a HUGE sale on Sinful Colors pricing them at only .50 each. I picked up all the available colors and now my Sinful Colors collection ranges at about 30 in all.
Perhaps, it was that I bought them at such a low price, but they don't ever seem to inspire me and most of them have remained untried, except for a lucky few. I've been trying to buy OPI's San-tan-tonio and still haven't been able to get ahold of it, so I decided to try out Sinful Colors Nirvana to calm my craving. After polishing my nails, even though I loved the color on it's own, it just made me want to add some color to it. Thinking back to the display I had spotted a few months earlier, I thought it would be a good idea to only utilize Sinful Colors polishes to create some modern dots.
All colors are from Sinful Colors and those colors are, from left to right, Why Not, Hazard, Innocent, Pull Over and Nirvana.
I used two coats of Nirvana. Even though this is not an expensive brand, the color payoff and application on all the ones I have tried so far is pretty good. It's not greatest brush, but it's close to it.
In order to make the process easier, I grabbed a nail polish wheel and placed a bit of polish from all four colors on it. I had to do this for every nail. When I finished, the entire clear plastic was filled with dots of nail polish.
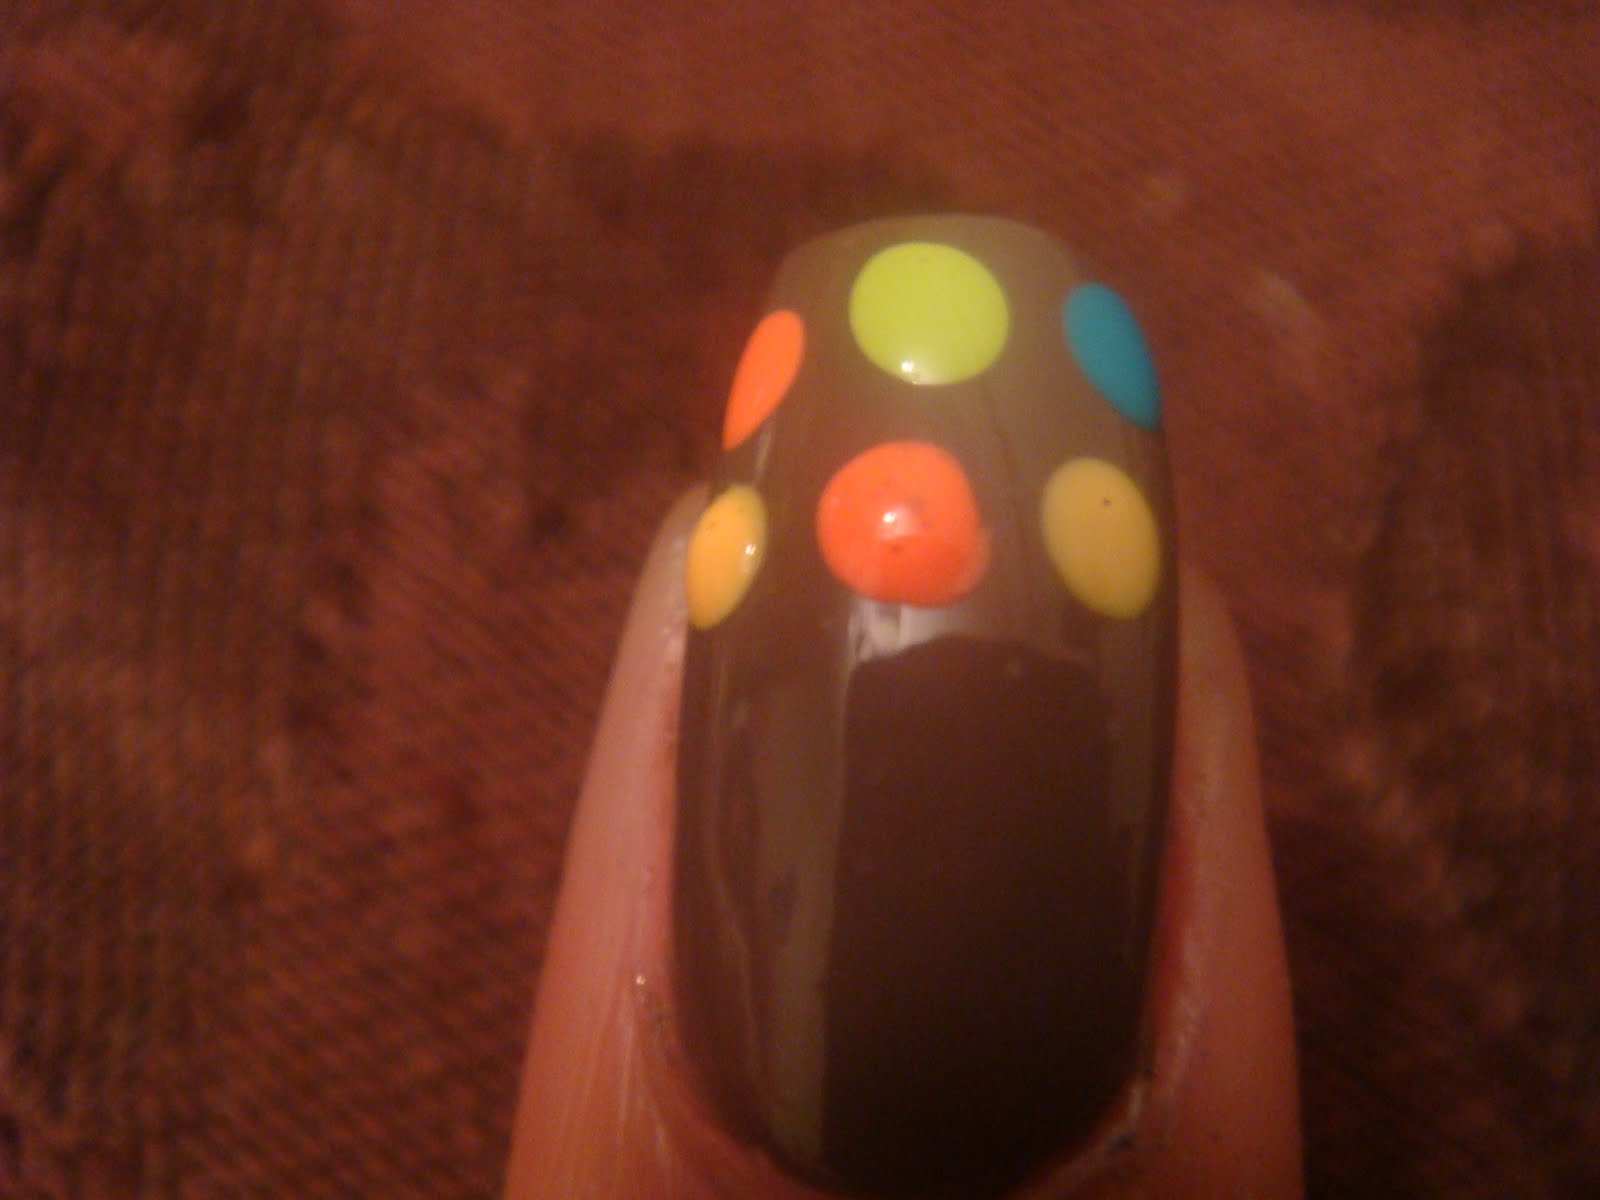
Every nail had three dots going horizontally and four dots going vertically at the end of the design. There is no particular order in which I picked the colors. I just tried to make it as random as possible. I started with making three dots at the tip of my nail leaving some space in between.
I then created a second line of dots perpendicular to the ones above and kept repeating this until my entire nail was covered.
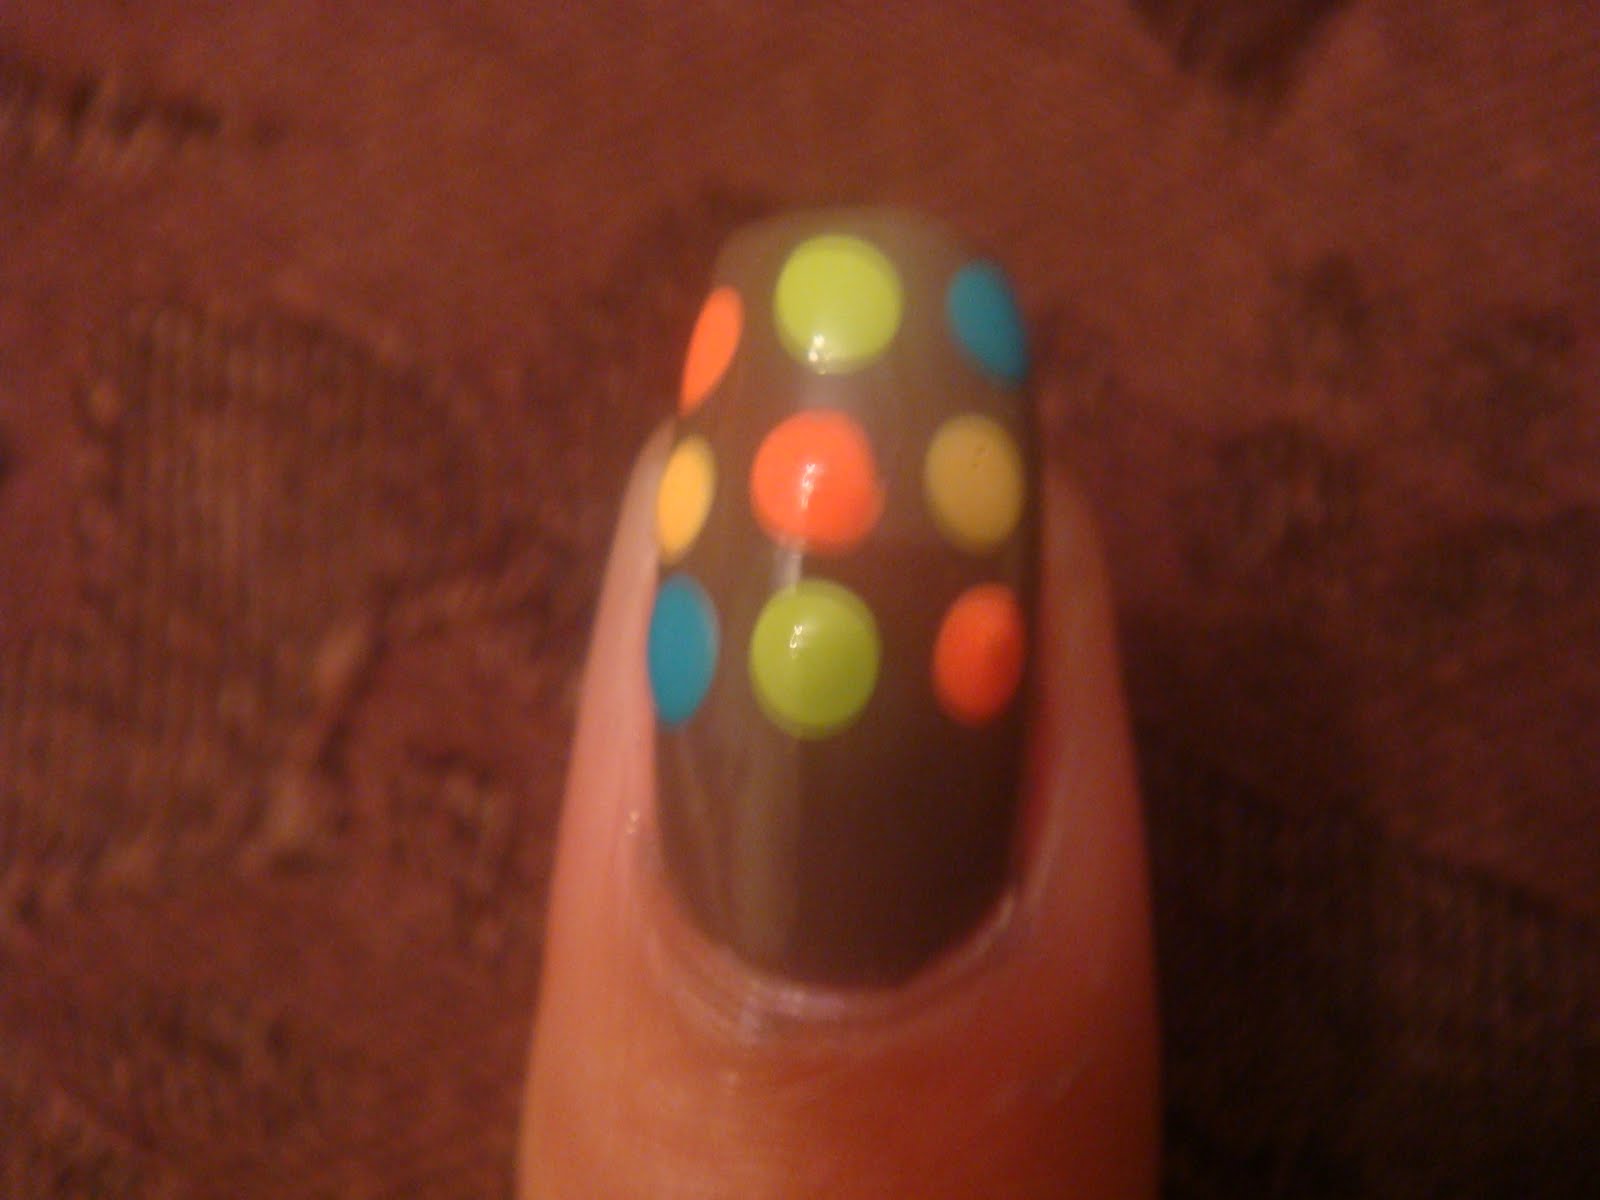
This is the finished nail. As you can see, there is no pattern as to what colors I used where, it was all random.
There is a saying in Spanish which is loosely translated to "one more polka dot and you'll look crazy". That's how I felt with this manicure, so I decided to leave my thumb as an accent nail.
This is a very busy manicure, which is why, IMO, think that an accent nail is necessary, but feel free to interpret this design as your own. I didn't get to sport this manicure very long because I was suddenly in the mood to attempt water marbling, but that was a big FAIL. That was my third time attempting it and only my second try was ever successful. I think that the reason for my failures have been my nail polish choices and/or the base color or lack thereof. I'm planning on a water marble week as well, but maybe in July, once I get a little more practice in. For this next week, I will just do random nail polish swatches, but look forward to more themed weeks, as I find themed weeks help me strive towards posting more often. Well, that's it for today. Hope you enjoyed!